
[Warning: Do not attempt anything written here; I assume no liability for any actions you take to modify your body. ]
As I don’t have an expensive dentist 3D scanner, the first step is to mold my jaw, in order to have something to scan after. Keeping also a referential of my original jaw is a good idea !
For that I needed:
-
-
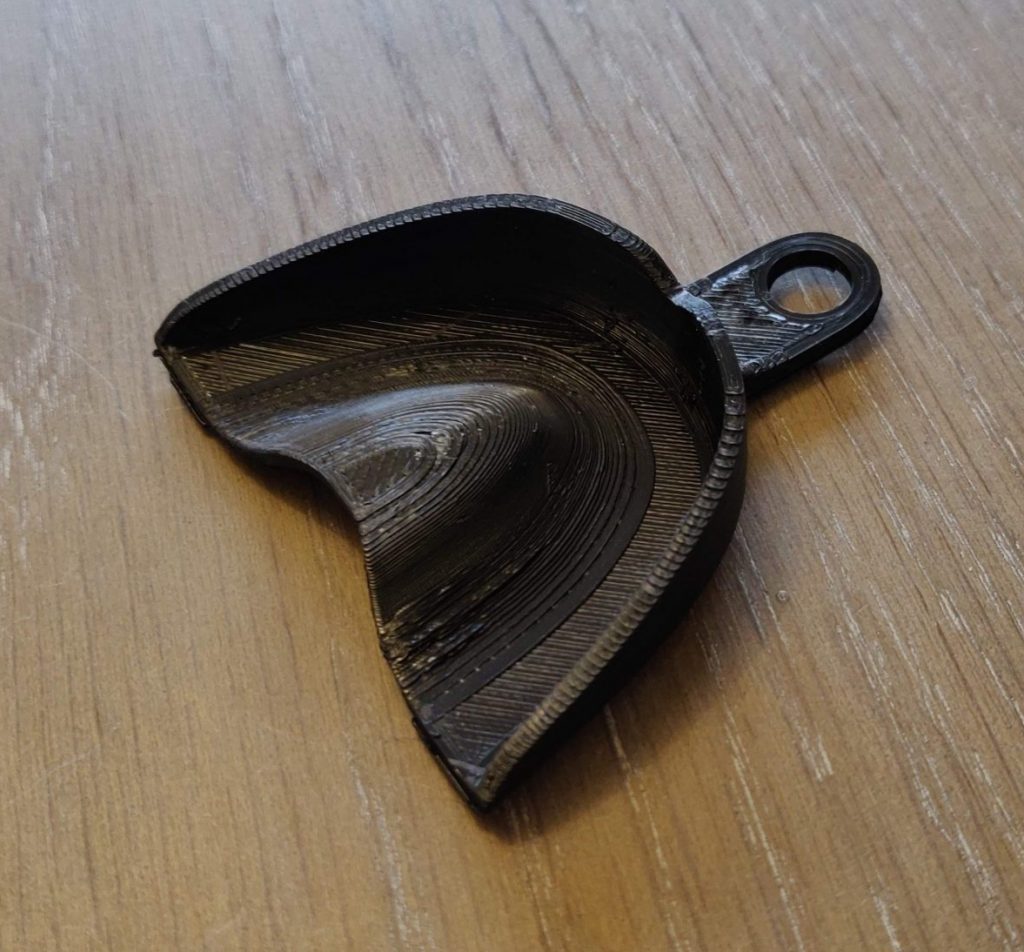
- A dental tray (3D printed)
- Alginate powder
- White plaster
-
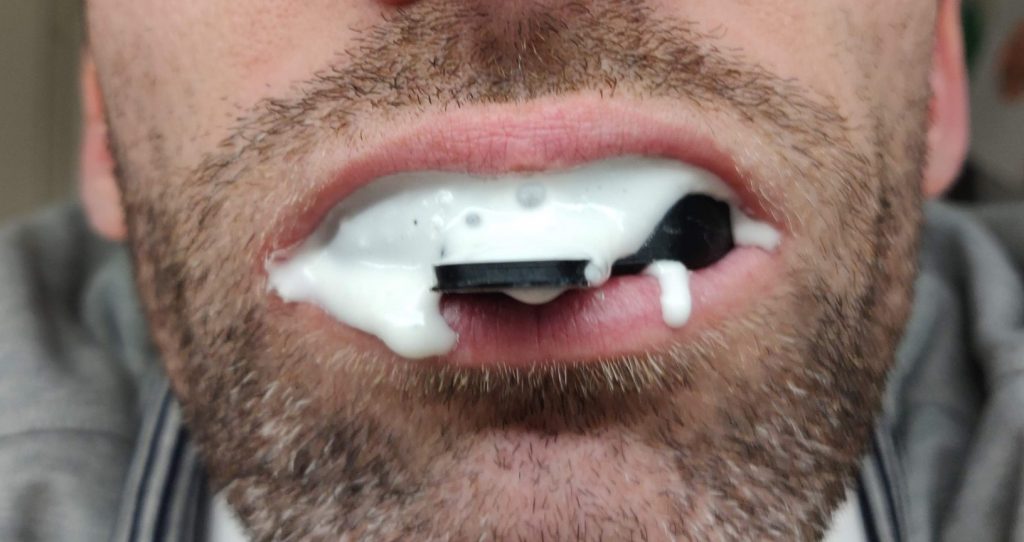
The alginate powder is an amazing thing, it captures a lot of details (as your tongue hiding in the back of your mouth during the molding 🙂 )
I bought this alginate powder from Amazon but use local shop if you can. (And if
(If you want orange or mint flavored alginate powder, find some dentist supplier on the web)
About 10gr of it is enough to realize a molding of a jaw (up or down)
It’s pretty easy to mold your jaw, but there is 2 things that you need to pay attention to:
-
-
- This powder stiffens quick, so as soon as it’s pink, it’s time to mold ! (heat and air accelerate the hardening process)
- Having of mold of the last molars is hard but useful
-
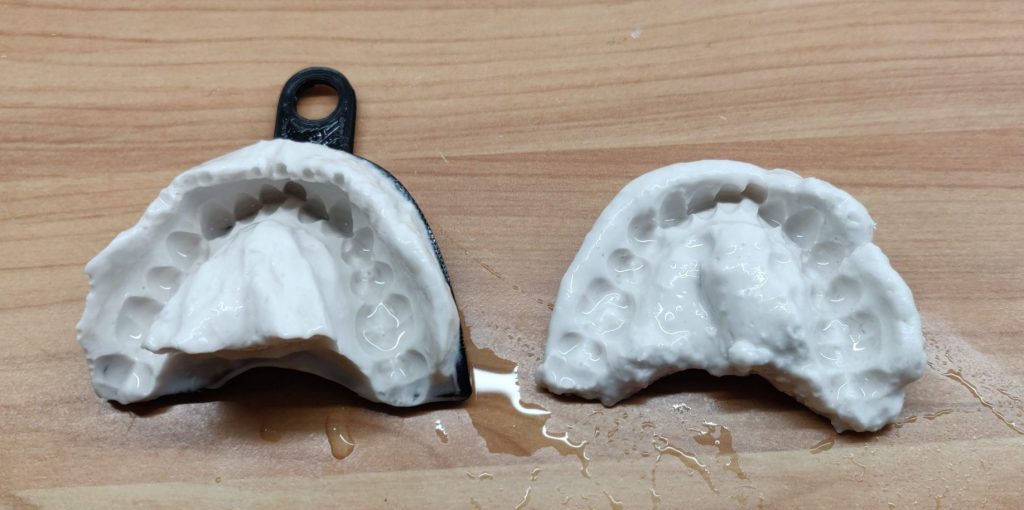
Keeping the alginate molding in the tray is a good idea ! Altering the mold even by a few tens of millimeters will result in a wrong plaster molding.
Then I used white plaster, from Amazon again, shame.
I circled the tray with some flexible plastic sheet, scoth it and fill it with liquid plaster.
After drying, I removed unnecessary details and plaster with my Dremel.
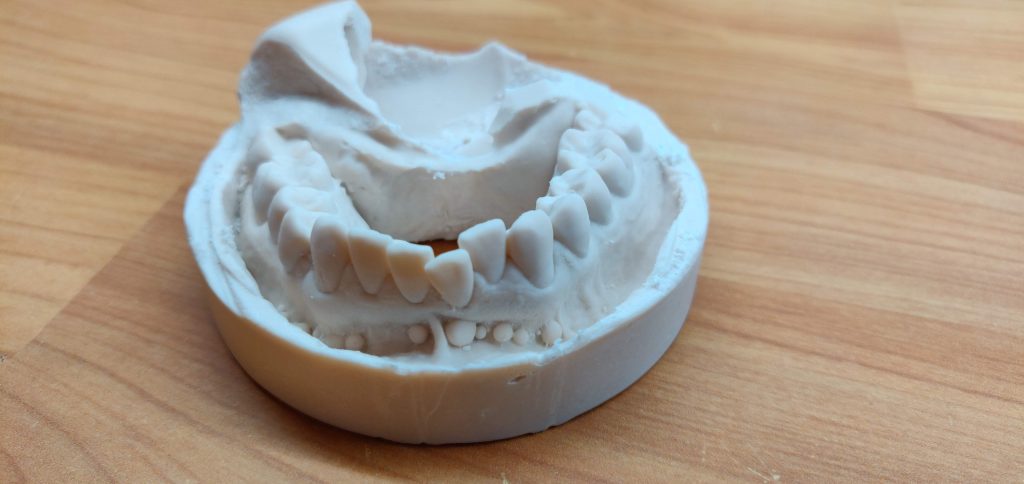
The result is really amazing !
I did it two or three times, in order to have the best possible molding (with the maximum shape of the last molar).
Next step, the 3D scan !